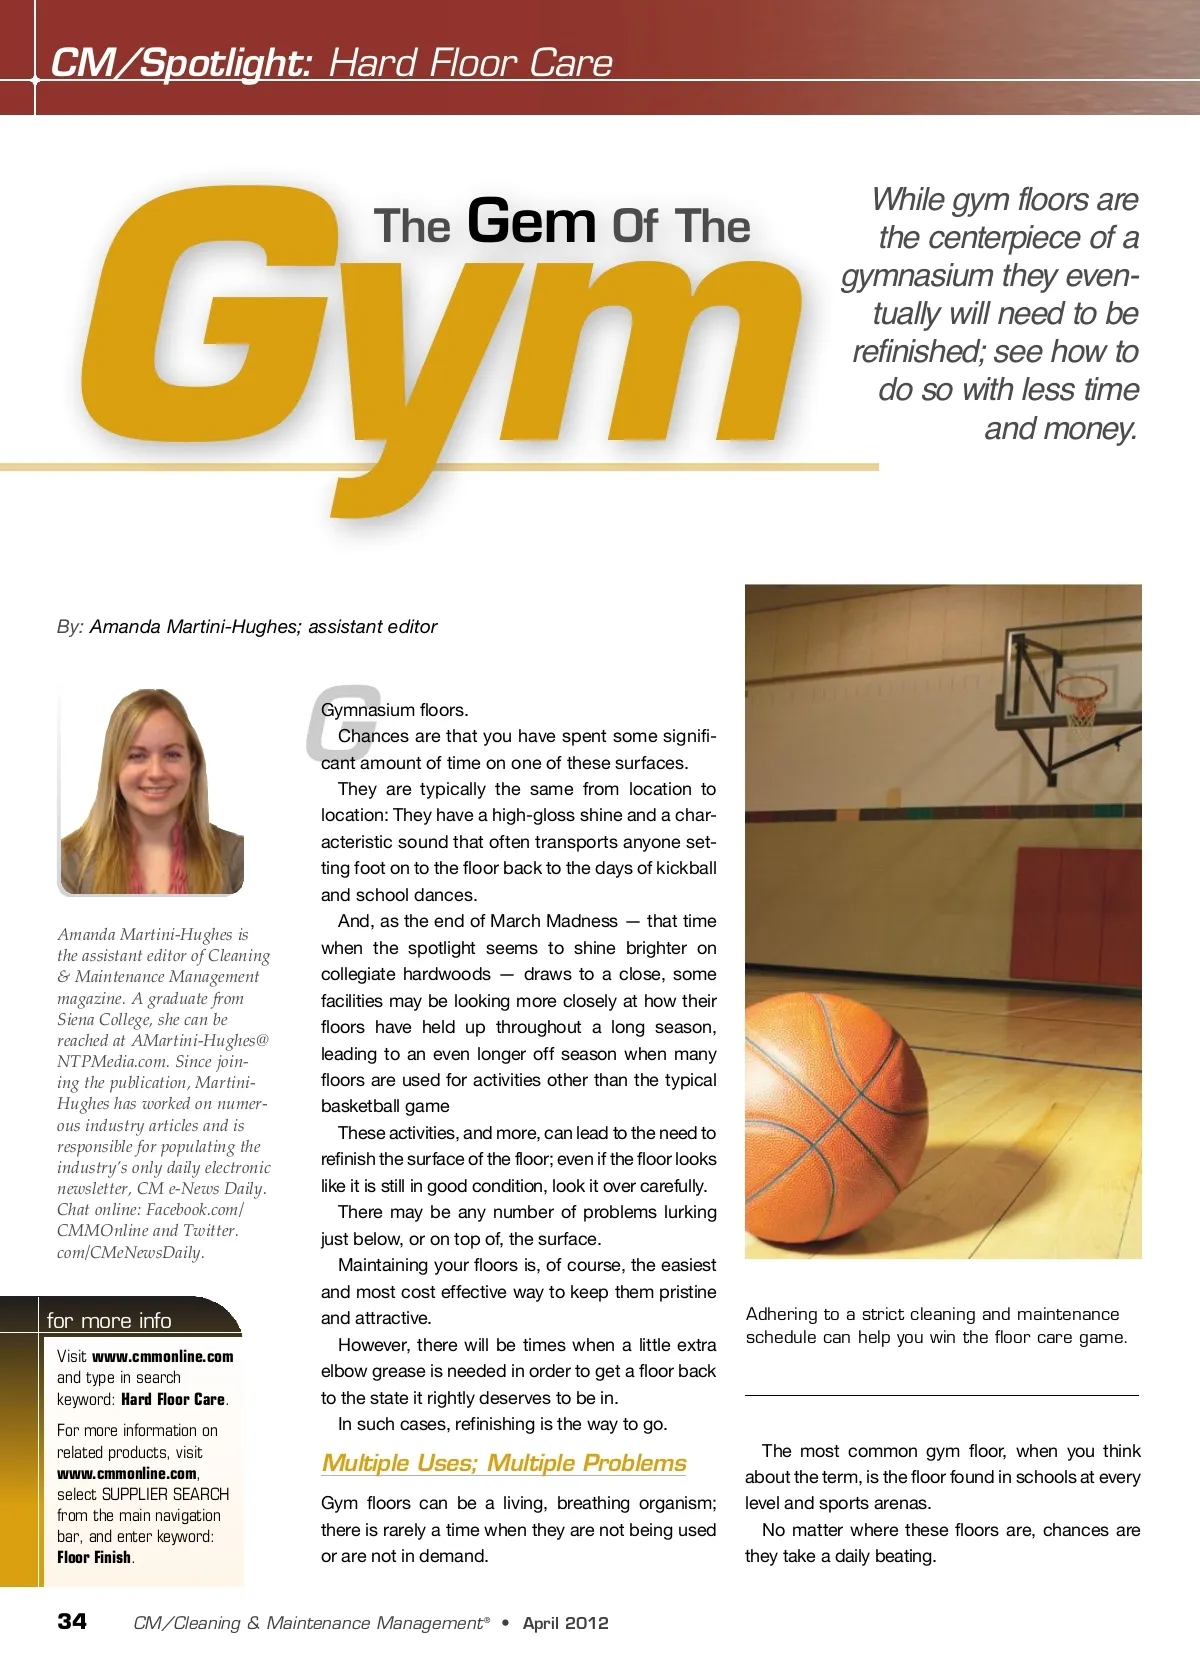
Even if there is not a game or event scheduled in an arena, there may be prac-tice; gyms in K-12 schools are rarely, if ever, used solely for sporting events. If the custodial or maintenance staff at a school or other athletic facility is proactive, they will take steps to make sure their floor remains in good condition. “The cleaner the floor, the longer it will last. It really is that simple,” says Pete Rowan, national sales manager for Proguard Coatings. “Gyms, like all floors, have daily care, intermediate care (screening and recoating) and restorative care (sanding).” According to Rowan, there are two main reasons a gym floor ends up needing to be refinished: Time and damage. While the average life expectancy of a floor can range from 15 years for vinyl tile to upwards of 50 years for wood flooring, this number can decrease dramatically if daily maintenance is not taking place. Damage can take place in the form of water damage or from more frequent sanding due to the “faster breakdown of water-based finish versus oil finish, or from the incompat-ibility between finishes and/or paint.” When damage occurs, refinishing is the next step. New technology allows for faster curing times, which can virtually eliminate any wait or downtime. new technology that will help save money and the environment. UV Curing The most promising new technology is not new it all. Those who have used the technology and have seen its benefits believe it has promise and potential to change not only how floors such as those found in gyms are refinished, but the janitorial business as a whole. The new finishes are oligomer and mono-mer-based, rather than the polymer-based finishes of old that required a carrier such as water, oil or paint thinner. Basically a plastic, the finish, once applied, can be instantly hardened using energy. Ultraviolet (UV) curing is a process in which UV energy produced by a mercury discharge lamp is absorbed by a sensitizer, causing a reaction in the monomer, which makes it hard and dry. Depending on the chemicals involved and the thickness of the coating you are curing, this process can be virtually instantaneous. UV cured floors are more durable than sealants used in the past, as the bonds do not break down like current products, which makes the finish harder, more durable and requires less maintenance. According to UV Cure Now, refinishing a floor with the new UV technology is also more environmentally friendly. Most conventional coatings contain high levels of solvents or volatile organic com-pounds (VOCs), which we now know are harmful to the environment. Strict federal and state air quality guide-lines are forcing contractors to explore new uses of UV curing, as these finishes meet or exceed these guidelines. In addition to the environmental aspect, contractors are realizing that there are sig-nificant cost savings when using UV cur-ing, as their results are instant, significantly reducing the drying and down time involved in refinishing a floor. Maintaining a gym floor is the best way to be sure the facility always reflects a well put-together look and feel. If, however, the time does come where refinishing must take place, consider the How To Refinish Gym Flooring Courtesy of Freedom Floors LLC 1. Make sure all dirt is removed from the hardwood gym floor before sanding it; also be sure that the floor is dry. 2. Load coarse sandpaper in to the drum sander as per the manufacturer’s instructions. 3. Plug in your sander — after the sand-paper has been loaded to avoid injury — and align it with the floor’s grain. 4. Turn on the sander and touch the drum to the floor. The drum sander will rotate itself forward. Allow the sander to move itself forward in a straight line. When you reach the opposite wall, lift the drum sander. Continue across the entire floor, overlapping each pass by two inches. 5. Load your disc sander per the manu-facturer’s instructions. Use the disc sanders in areas such as around the walls of the gym, where your drum sander was unable to reach. 6. Load your drum sander with a medi-um-grit sandpaper, and do a second pass over the entire floor. Load the disc sander, and go over the areas the drum sander missed. 7. Sweep up the floor to remove all of the dust before refinishing. 8. Work in two-square-foot areas, and begin applying the stain by dipping a lint-free rag in your color of choice. Work it into the area and allow it to penetrate the wood for 10 minutes. Wipe up the excess with a clean, lint-free rag. Repeat until the entire floor has been coated. Allow the stain to set for eight hours, and repeat this process. 9. Apply a sealer to the floor in the same manner in which you applied the stain. Wipe and allow it to set for 48 hours before using the gym floor (for typical sealants). CM The Details Are In The Specs Wood floors, which the majority of gym floors are made of, should always be sanded down with a heavy powered drum sander. According to Freedom Floors LLC, the first cut of a floor needs to be transverse in both directions, going with the grain of the floor with a low-grit sandpaper (20 to 36 grit) to cut off the finish. The floor should then be sanded with a higher grit paper (50 to 80 grit) in order to take out scratch marks; skipping grits is not recommended. After the secondary sanding, the floor is screened with a rotary buffer and 100 grit screens, or a fine-grit sandpaper. The final step is to vacuum and clean the floor of any residue from sanding before moving on to sealing the floor. Typical sealers would require occupants to stay off the floor for anywhere between 24 and 48 hours, which can sometimes be a hassle. www.cmmonline.com 35
CMM – Archives Apr 2012: 35