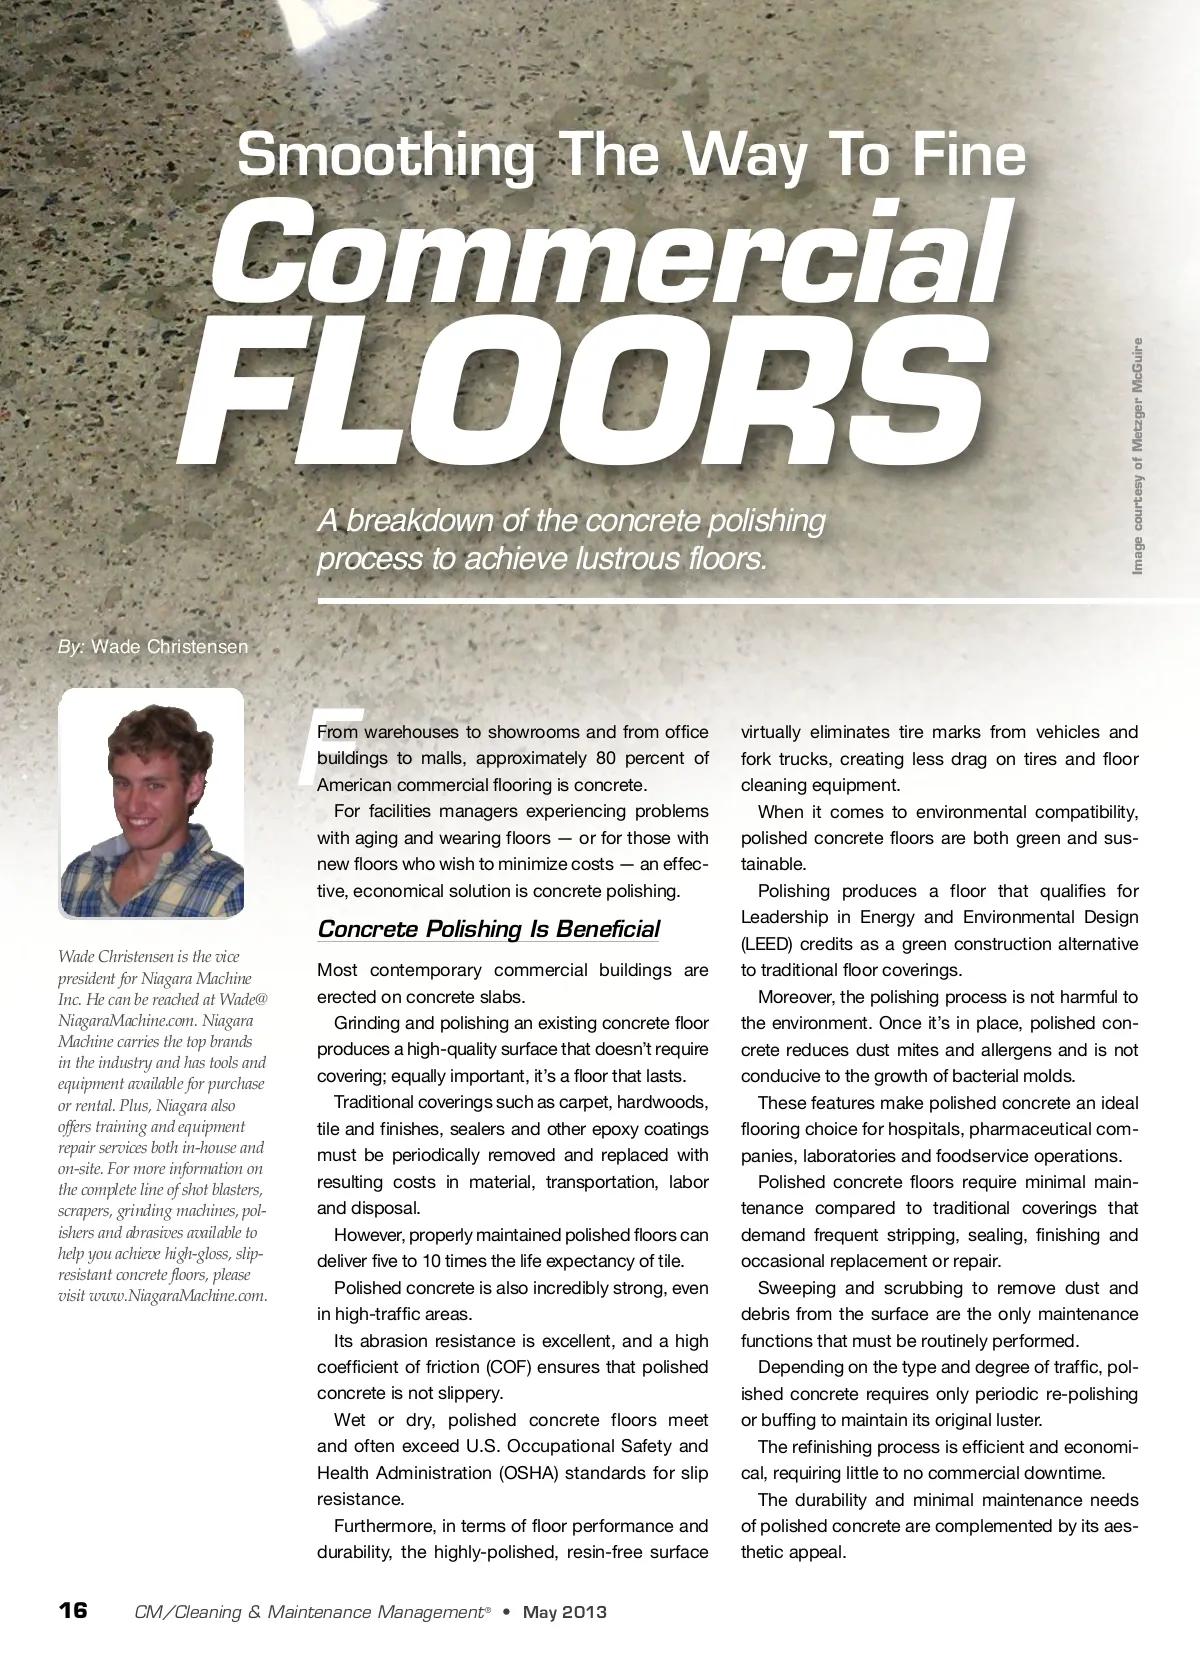
The Concrete Polishing Process Just like other cleaning and maintenance tasks, achieving shiny, slip-resistant con-crete floors requires a process. To turn your dull concrete floors into coverings that exhibit aesthetic appeal and offer sure footing, consider the following four-step process: 1. Floor preparation The first step in the process is to com-pletely remove the existing floor coating Floor damage can not only be unsightly, but it may also present health risks. FREE INFO: Reader Service 209 or CMMOnline.com/freeinfo www.cmmonline.com 17 Image courtesy of Metzger McGuire For a new floor, the finish options can range from matte to a highly reflective, glossy surface similar to polished marble, terrazzo or granite. The finish on existing polished floors is determined by the natural aggregate in the original concrete; however, a topping slab may also be added that offers the same finishing options as a new floor. Highly reflective finishes offer the added benefit of increased light levels, reducing costs for artificial lighting, while creating a safer working or retail environment. or covering and prepare the concrete for grinding. It’s a critical step toward ensuring a sound surface for either re-coating or polishing. Machines required for the initial step include industrial scrapers, shot blasters or grinders. The size of the machines and their fuel types can be matched to the specific require-ments of a building, facility or campus. Propane, electric and battery-powered equipment is available in walk-behind and riding designs; machines that can fit into elevators and be used in hard-to-reach areas are also available. According to Mike Trotta, national sales manager of Niagara Machine Inc., distribu-tors of a full line of concrete cleaning, polishing and maintenance equipment, the floor preparation phase is determined by the specific floor covering and the thickness of the substrate. “For tile removal, we recommend using a riding or walk-behind tile scraper followed by a grinder,” says Trotta. “If you are remov-ing a heavy mil coating, we recommend a scraper followed by a concrete grinder or a shot blaster. Thin mil coatings can usually be removed with a shot blaster alone.” 2. Surface and joint repairs The second step in the process — an often overlooked but critical step — is repairing surface defects such as cracks, pop-outs, gouges and joints.
CMM – Archives May 2013: 17